This is a fun way you can incorporate a Halloween theme and Google Sheets into the next review quiz you give your elementary students. Besides demonstrating their knowledge of subject matter, it also gives them a chance to become more familiar with their Chromebook’s keyboard and touch pad.
You can use this Google Sheet to ask your students any 10 questions. If they get the answers correct they’ll have a friendly pumpkin on their screen. Younger students will be amazed.
This activity could also be interesting for older students. They could reverse engineer the Google Sheet and learn how to size rows, hide columns, and use conditional formatting and formulas within Google Sheets.

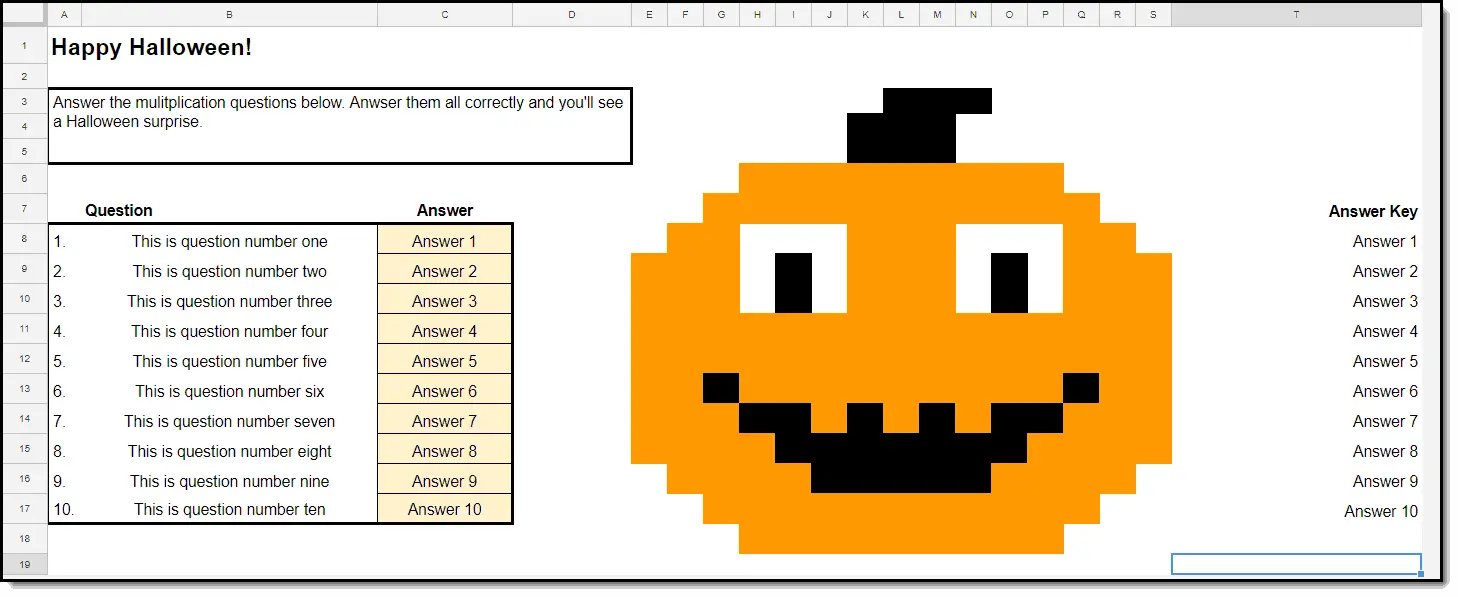
As students answer the questions correctly, the pumpkin starts to appear. It doesn’t matter in what order they answer the questions. In the example above the questions are math problems. However, you can use any type of questions.
Think your students would enjoy this activity? Let’s look at how you set it up.
Honestly, you do not need any previous experience with Google Sheets to use this template.
Make A Copy of the Google Sheet
Let’s start by making your own copy of this Google Sheet. Click the link below and you’ll be prompted to save your own copy.
https://docs.google.com/spreadsheets/d/12Jgx9oOcq-PncmSqFlt3ojW7B58J4w5twONLTA0ISmk/copy
By the way, you can learn how to setup a link that prompts to make a copy in this post: Game Changing Google Drive Tips for Teachers!
Add Your Own Questions
Now let’s personalize your copy to have the questions you want to ask your students.
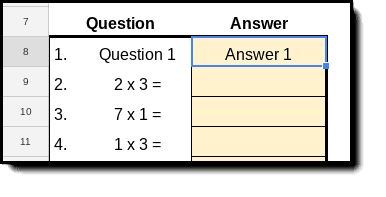
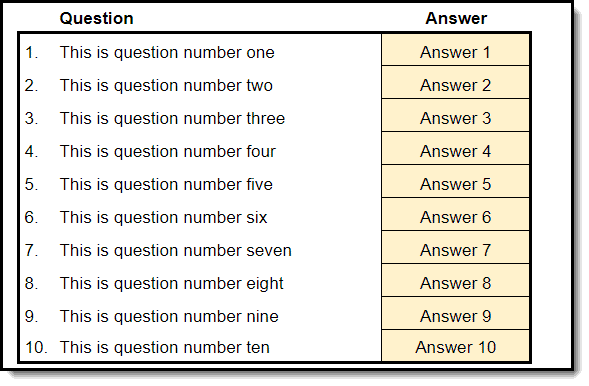
Let’s start with question 1. Change 2 x 2 = to your first question. Then add the answer next to it (where they student would answer.)
In my example, there is not enough space for a long question or answer. You can easily fix this by adjusting the column widths.
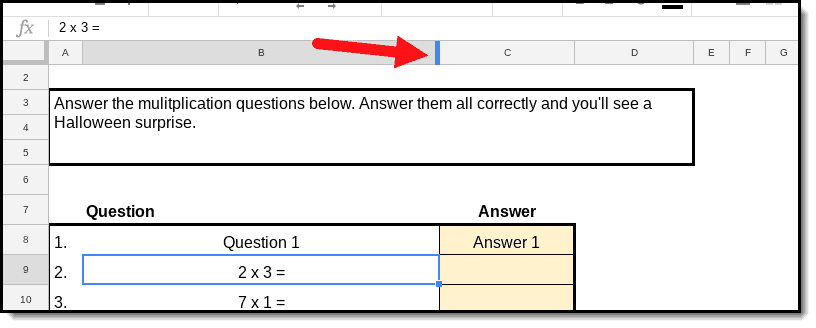
Move your mouse to the line between the B and C columns. Your mouse point will change to a two sides arrow.
Click and drag to the right to make the column wider.
Finish adding your questions and the answers. When your done your Sheet should look similar to mine below.
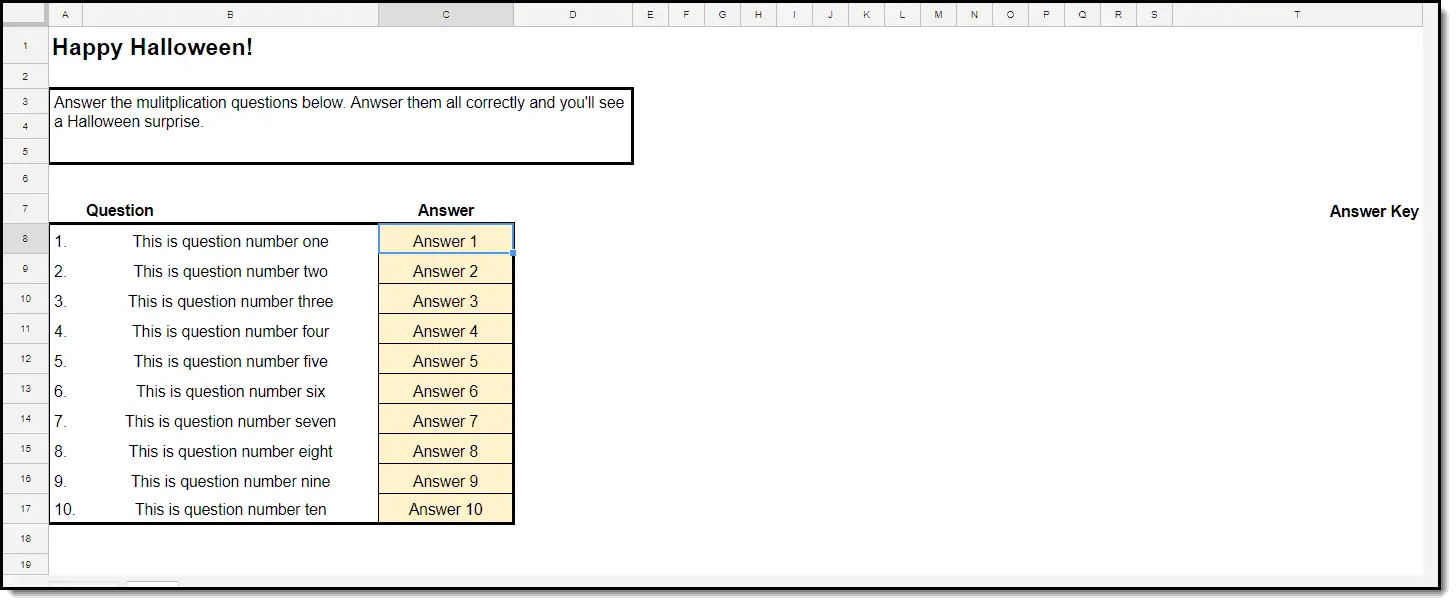
Yeah, I know, right now this looks like the most boring thing you have ever done in G Suite. Stick with me. It’s going to get better!
Format Your Questions
In the example above, my questions are centered in the cell. This doesn’t look very good for sentence questions. It worked well for math questions. It would look better if I left justified them.
To do this, first I need to highlight all of my questions.
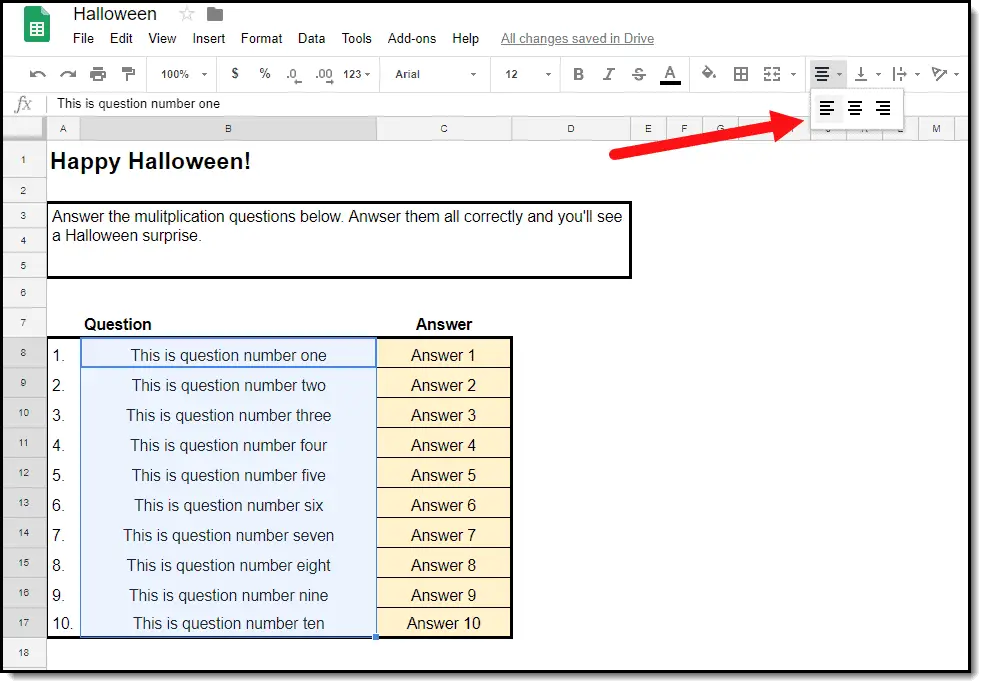
Then, click on the alignment button and choose left.
That’s better! At this point you can format they way your questions look. Change the color, made them bold, etc… It will have no affect on the Pumpkin image.
Changing the font size could have an impact as it will adjust the cell height which will make the pumpkin taller. But hey, there is no right size for a pumpkin, right?
Setup the Answer Key
Next week need to setup the answer key, which is really easy.
Highlight all of your answers and copy them. You can either right-click and choose copy or press Ctrl + C
Now go to the right size of the screen and paste them under where you see Answer Key. I recommend you paste them by press Ctrl + Alt + V, which pastes only the values of the cells.
Want to learn more cool shortcuts, check out this post: 21 Chromebook Keyboard Shortcuts You’ll Actually Use Everyday
At this point the pumpkin should show up on the screen!
Hide the Answer Key
Let’s get those answers off the screen. Otherwise these will be the easiest questions ever!
By the way, I just noticed that out of the 22 times I have the word “answer” in the Sheet, I misspelled it once in the directions on the screenshots. Let’s call it an Easter Egg and move on OK? We’re all friends here right?
Right-click on the “T” in column T and then choose Hide Column
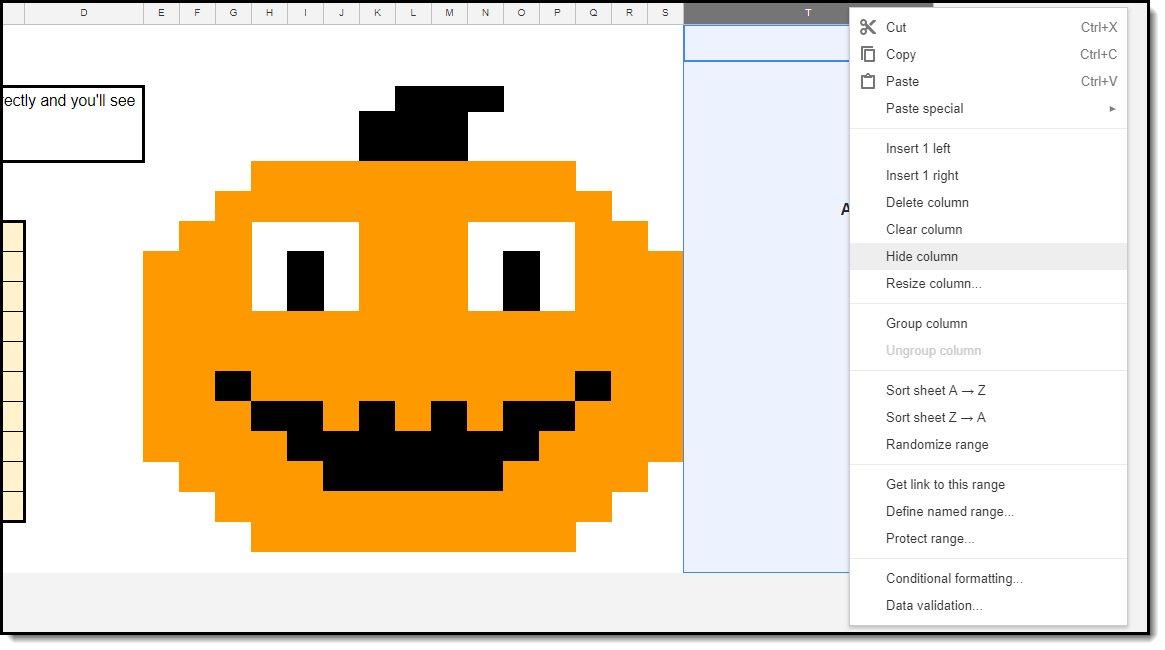
Is this top notch security….no. However, for young elementary school students it’s probably good enough.
Another way to hide the text would be to change the color of the answers to white. If you do this, I’d recommend also making the column much wider. You could hide it and and make the text color white. Either way is kind of like hiding a key to your front door under the flower pot on your porch.
While we are on the topic, let’s cover the elephant in the room. I know someone is thinking it. That’s right, revision history. Honestly, if your students have a good understanding of revision history, they are really going to be disappointed with the quality of this pumpkin. Let’s get back on track.
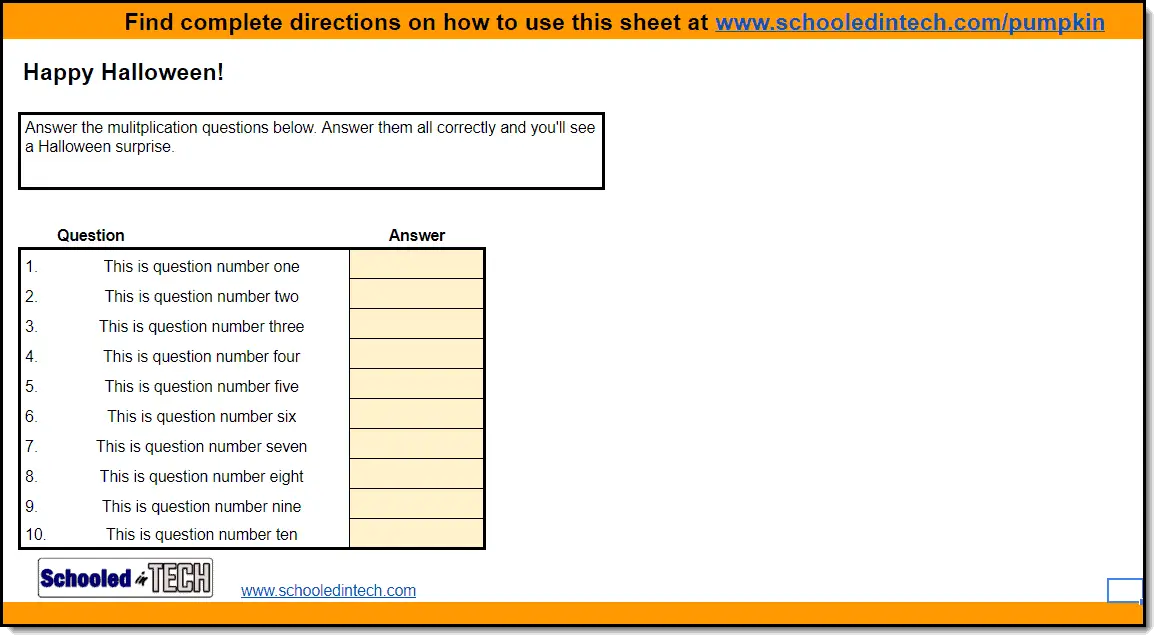
The last thing we need to do so remove the answers that are next to the questions. Click in each cell and press backspace.
That’s it! Your pumpkin is hiding and ready for your students to find him.
Send Out The Pumpkin
One of the easiest ways to give each student a copy of your Halloween Google Sheet is to add it as an assignment in Google Classroom with the make a copy for each student option.
Another option is to put a link link to the Sheet on your school’s website or your own teacher blog. If you do this I recommend adding “/copy” to the Google Sheet URL to make it easy for students to make a copy.
How’s It Work
This is the general explanation. The pumpkin is created using conditional formatting and formulas.

I really hope you find this activity useful and that your students enjoy doing it! If you try it out, let me know how it goes in the comments. Also, I’m thinking about creating Sheets for other holidays. If you have ideas to make it better (you don’t have to know how to do it) leave them in the comments too.
As always, thanks for reading and sharing!