If you’re like me, you get excited when you hear the word spreadsheet. However, if your’e like the other 98% of the population, you don’t exactly have the same reaction. All too often, spreadsheets are dull and boring. They have a lot of important data and calculations, but you wouldn’t call working with them fun.
This activity is designed to put at least a little bit of fun into introducing Google Sheets. It’s geared toward elementary school students. In previous posts, I have provided a 10-question quiz that makes a pumpkin appear and a 20-question quiz that makes a turkey appear. You supply the questions and answers, and everything else happens “automagically.” This post is a little different.
Today’s Google Sheet quiz makes a snowman, and I encourage you to use it in your classroom! This post is different than my previous posts because I had a reader ask me to share how I make the images appear so that they could create their own. Towards the end of this post, I’ll show you how.
How it Works
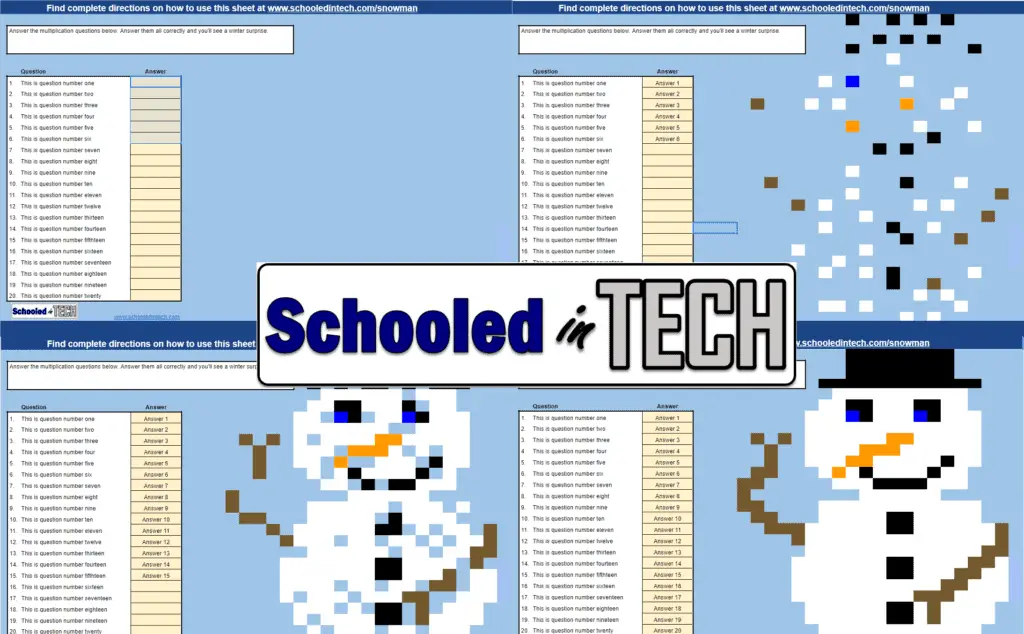
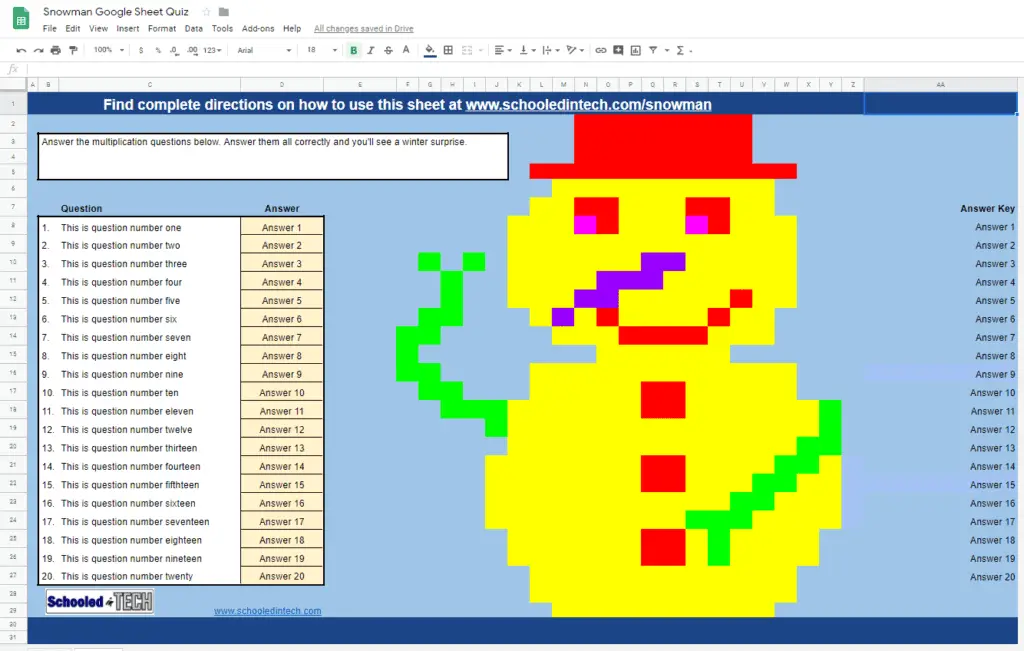
As students answer the questions correctly, the snowman starts to appear. It doesn’t matter in what order they answer the questions. In the example, the questions are math problems. However, you can use any subject matter.
Getting Started
The first thing you need to do to set up the quiz for your students is make a copy of my template. Clicking this link will prompt you to save a copy of the template in your Google Drive. I made this link using Google’s make copy option. You can learn how to make your own “forced copy links” in my Add To Drive vs Make A Copy post.
Next, highlight all of the questions and answers in columns C and D and delete them. Your snowman will disappear, but don’t worry. He’s not lost.

Add Your Own Questions
Now let’s customize your copy by adding the questions and answers you want to ask your students.
In my example, there is insufficient space for a long question or answer. You can easily fix this by adjusting the column widths.
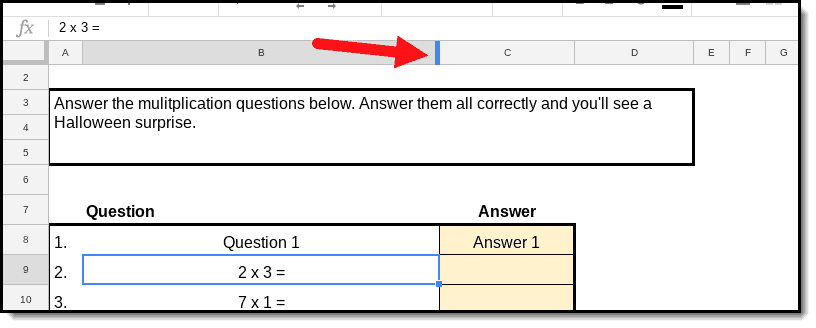
Move your mouse to the line between the B and C columns. Your mouse pointer will change to a two sides arrow. Click and drag to the right to make the column wider.
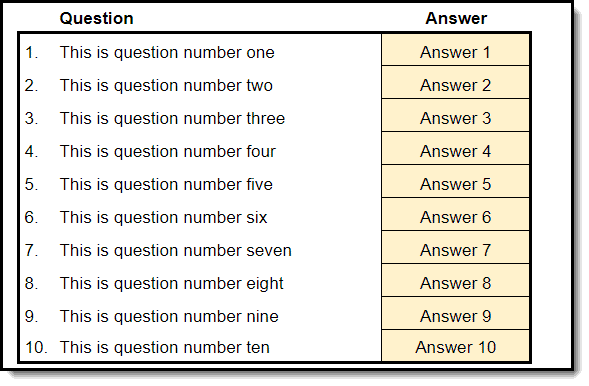
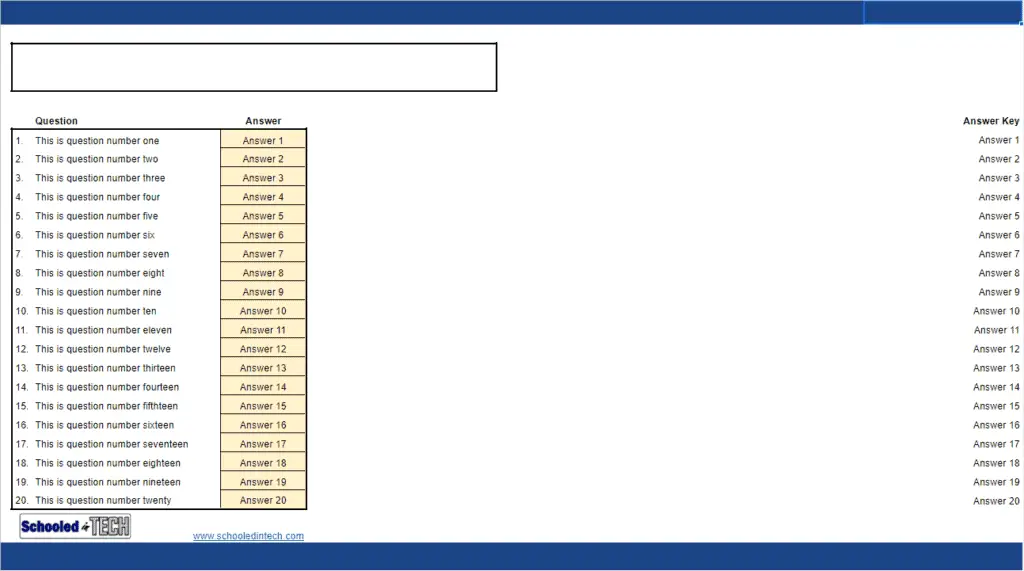
Now, finish adding all of your questions and answers. When you are done, your Sheet should look similar to mine below.
At this point, you can format the way your questions look. Change the color, make them bold, etc… It will have no effect on the Snowman image.
Setup the Answer Key
Next week need to set up the answer key, which is really easy.
Highlight all of your answers and copy them. You can either right-click and choose copy or press Ctrl + C
Now go to the right side of the screen and paste them under where you see Answer Key. I recommend you paste them by pressing Ctrl + Alt + V, which pastes only the values of the cells. The example demo answers will be overwritten.
Want to learn more cool shortcuts, check out this post: 21 Chromebook Keyboard Shortcuts You’ll Actually Use Everyday
At this point, the Snowman should show up on the screen!
Hide the Answer Key
Let’s get those answers off the screen. Otherwise, these will be the easiest quiz ever taken!
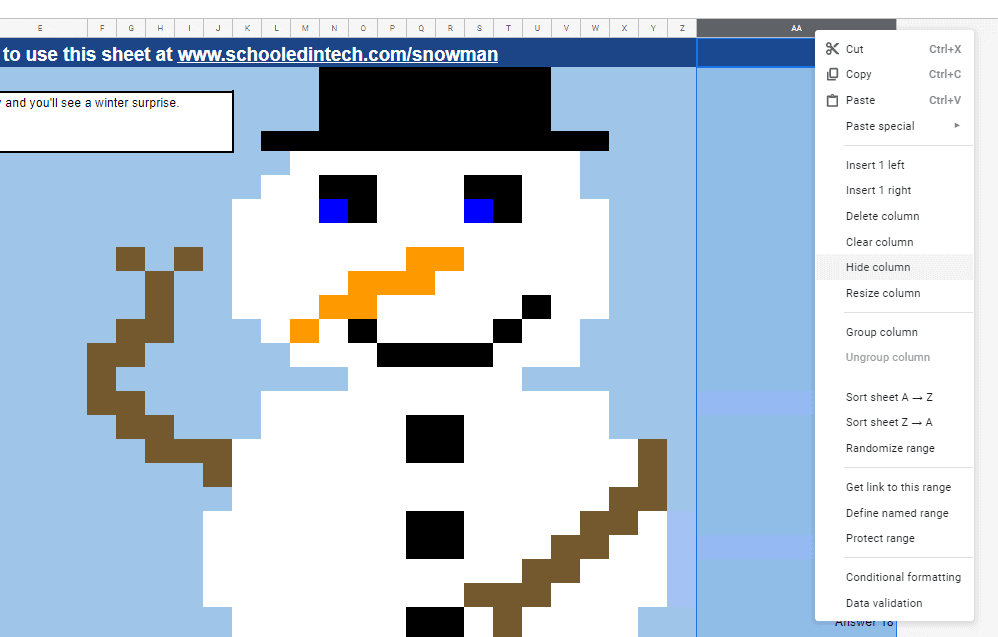
Right-click on the “AA” in column AA and then choose Hide column.
Is this top-notch security….no. However, for young elementary school students, it’s probably good enough.
Another way to hide the text would be to change the color of the answers to match the background. If you do this, I’d recommend also making the column much wider. You could hide it and change the text color. Either way is kind of like hiding a key to your front door under the flower pot on your porch.
While we are on the topic. I know someone is thinking about revision history. Honestly, if your students have a good understanding of revision history, they are really going to be disappointed with the quality of this Snowman.
The last thing we need to do is delete the answers that are next to the questions. Your Snowman will then be hiding and ready for your students to find him.
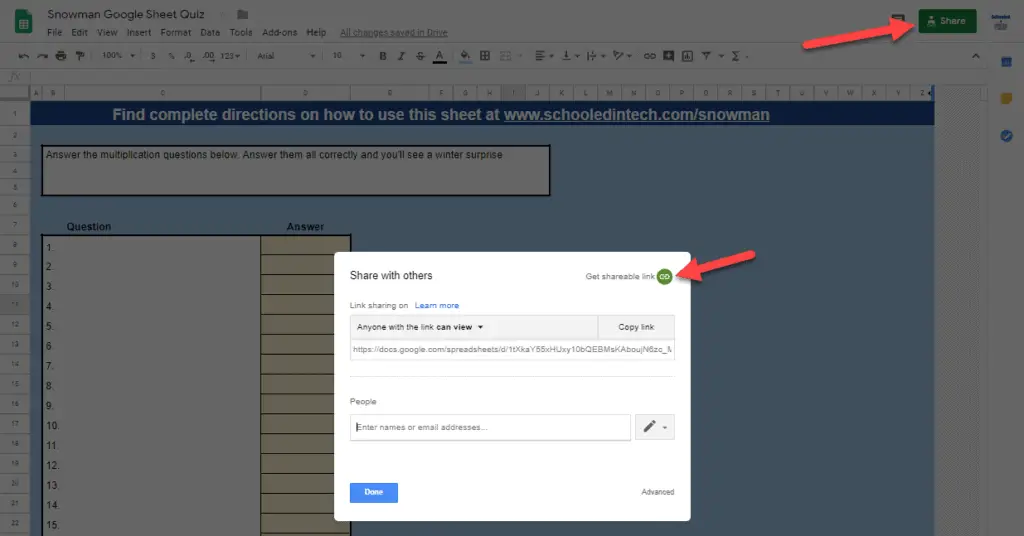
Share The Snowman Google Sheet With Students
One of the easiest ways to give each student a copy of your Snowman Google Sheet is to add it as an assignment in Google Classroom with the make a copy for each student option.
Another option is to share it and put a link to the Sheet on your school’s website or your own teacher blog. If you do this, I recommend adding “/copy” to the Google Sheet URL to make it easy for students to make a copy.
That’s the end of how to use this Google Sheet. I hope your students enjoy using it. In the next section, we’ll do a deep dive into how to make the “automagic” happen.
UPDATE: A friend of mine, @jerrybroyles made a Kentucky History Quiz and added a word bank. I hadn’t thought of doing that. You can check out his quiz at the link below.
https://docs.google.com/spreadsheets/d/18kQ4hSmpK3a8BRRM11SLthc_DyHe3p5yWFFvvJcqHuQ
Creating Your Own Google Sheet Images
To save you a little bit of time, you can download this template. It has the sections for adding questions, but no image is created.
Create Your Image
The first step is to “draw” your image. Now here’s a secret, I’m not an artist. I know you are shocked after seeing the pumpkin, turkey, and snowman, but it’s true. I’m sure you can come up with a much better drawing than I did.
Two things to consider when making your image:
- The more colors you have in your image, the longer it will take to set up the reveal.
- You need to make the image using colors you will not be using to reveal your image.
This will make sense later, but here’s what my Snowman looked like when I originally created it.
Setting Up Conditional Formatting in Google Sheets
Crazy, right? Well, there is a good reason I did this. The snowman appears using a built-in feature of Google Sheets called conditional formatting. It works by checking if a condition is true or false and then formatting one or more cells based on the result. We use these results to set the cell color. It’s a lot easier to explain visually.
- Let’s start off by highlighting a few cells we want to turn the same color. Hold down your Ctrl key and click a few cells.
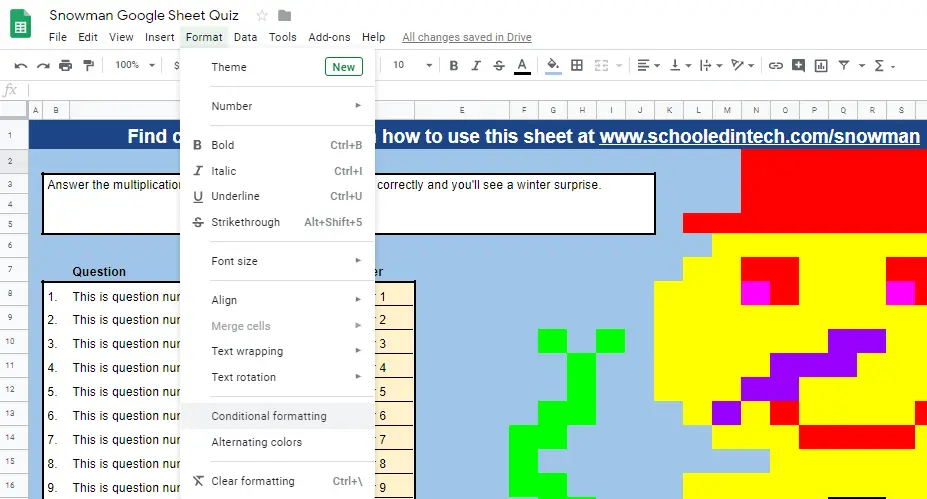
- Next, in the menu bar, click Format > Conditional formatting
- The cells you have selected should show up in the Apply to range
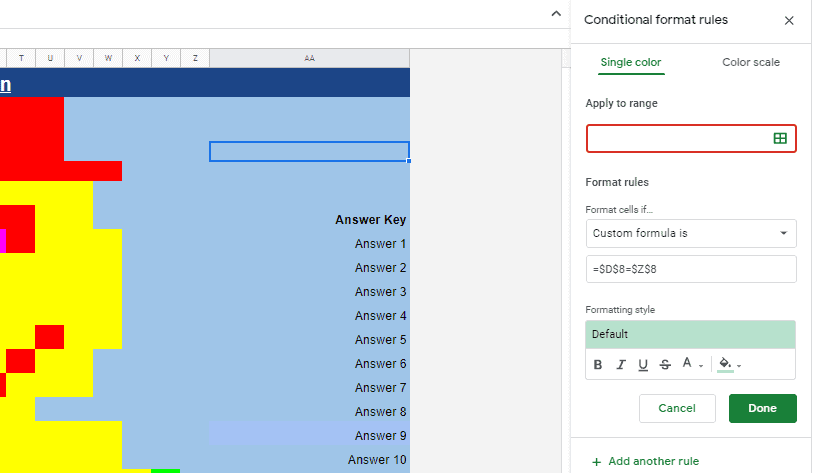
- Now we need to set up the Format rules. in the drop-down choose Custom formula is
- We are going to compare the answer to question 1, which is in cell D8, to the question 1 answer key which is cell AA8. If they are the same, we want to apply formatting so our formula should be =$D$8=$AA$8. The $ are very important. Since our range is more than one cell, the $ tells Sheets to always compare the same cells.
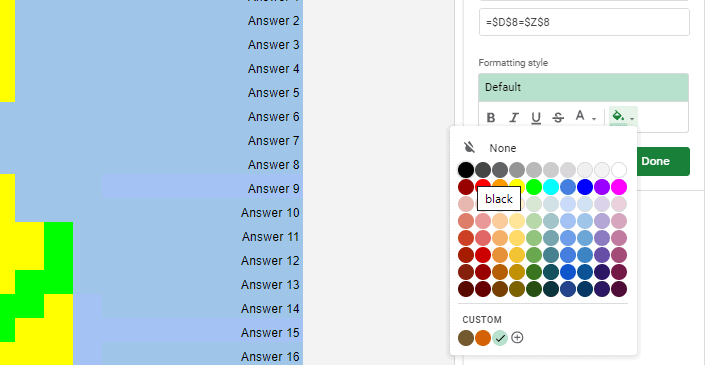
- Lastly, we need to set the Formatting Style so the cell color changes. To do this, we need to click on the bucket of paint and choose a color.
You should now see the cells you originally selected change to the color you specified. This is why we make the image in other colors. It lets us know which cells don’t have a condition format setup.
Next, click on any cell to remove the highlight from the rest of the cells. Then hold the Ctrl key and click on a few others you want to change the color on. Instead of having to open the conditional formatting settings again, you can click on Add another rule. You would set the formula for the next group of cells to compare question two answers. So the formula would be =$D$9=$AA$9. I’d recommend copying the formula and pasting it, and change it as needed.
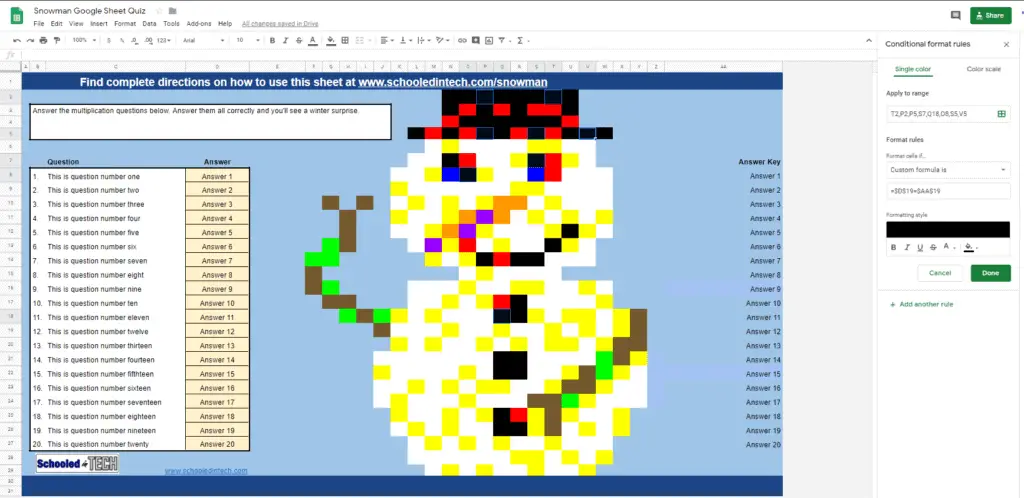
You’ll have to repeat the process for each group of cells and each different color. The image below shows what the snowman looked like as I neared the end of the questions.
Get Your Google Sheet Ready To Share
Once you’ve finished setting up the Conditional formatting rules, there are a few more steps before your creation is ready to share.
- Enter your questions and answers
- Copy the answers to the Answer Key column. Once you do this, your image should look complete with the correct colors.
- Hide the Answer Key column
- Delete the answers from the column next to the questions
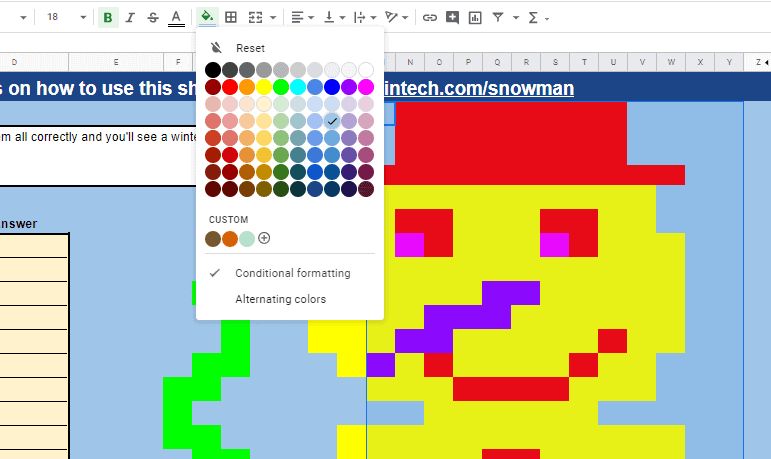
At this point, the colors of your image should be the original colors you used to create it. Now you need to highlight the cells of the image and reset the cell color or make it match your background color if you have one.
Your image is now ready to go. Follow the directions for sharing it I listed earlier.
Even if you don’t want to try and make one from scratch, you can use the images I’ve created and shared. If you do start from scratch, I can tell you it gets easier. It took me less time to set up the snowman than the pumpkin because I knew how to make it work.
I hope you found this post helpful. If you did, please share it with other teachers and on your favorite social media platform.